Toronto Carpenters
Welcome to Toronto Carpenters, Toronto's premier carpentry business. With over 20 years of experience and a team of skilled craftsmen, we are dedicated to providing the highest quality custom woodworking, cabinetry, and furniture restoration services to our clients. Trust us to bring your vision to life with expert craftsmanship, attention to detail, and exceptional customer service. Choose Toronto Carpenters and experience the difference of working with Toronto's number one carpentry business.
Transform Your Home with DIY Carpentry: Elevate Your Space with Creative Projects
Introduction
Welcome to the world of carpentry and home improvement! If you're looking to transform your living space and add a touch of personalization, this article is for you. Carpentry projects not only allow you to showcase your creativity but also offer a cost-effective way to enhance the aesthetic appeal and functionality of your home. In this comprehensive guide, we will explore a variety of exciting DIY carpentry projects that can truly elevate your space. So, grab your tools and let's get started!
1. Building Custom Shelves for Organization
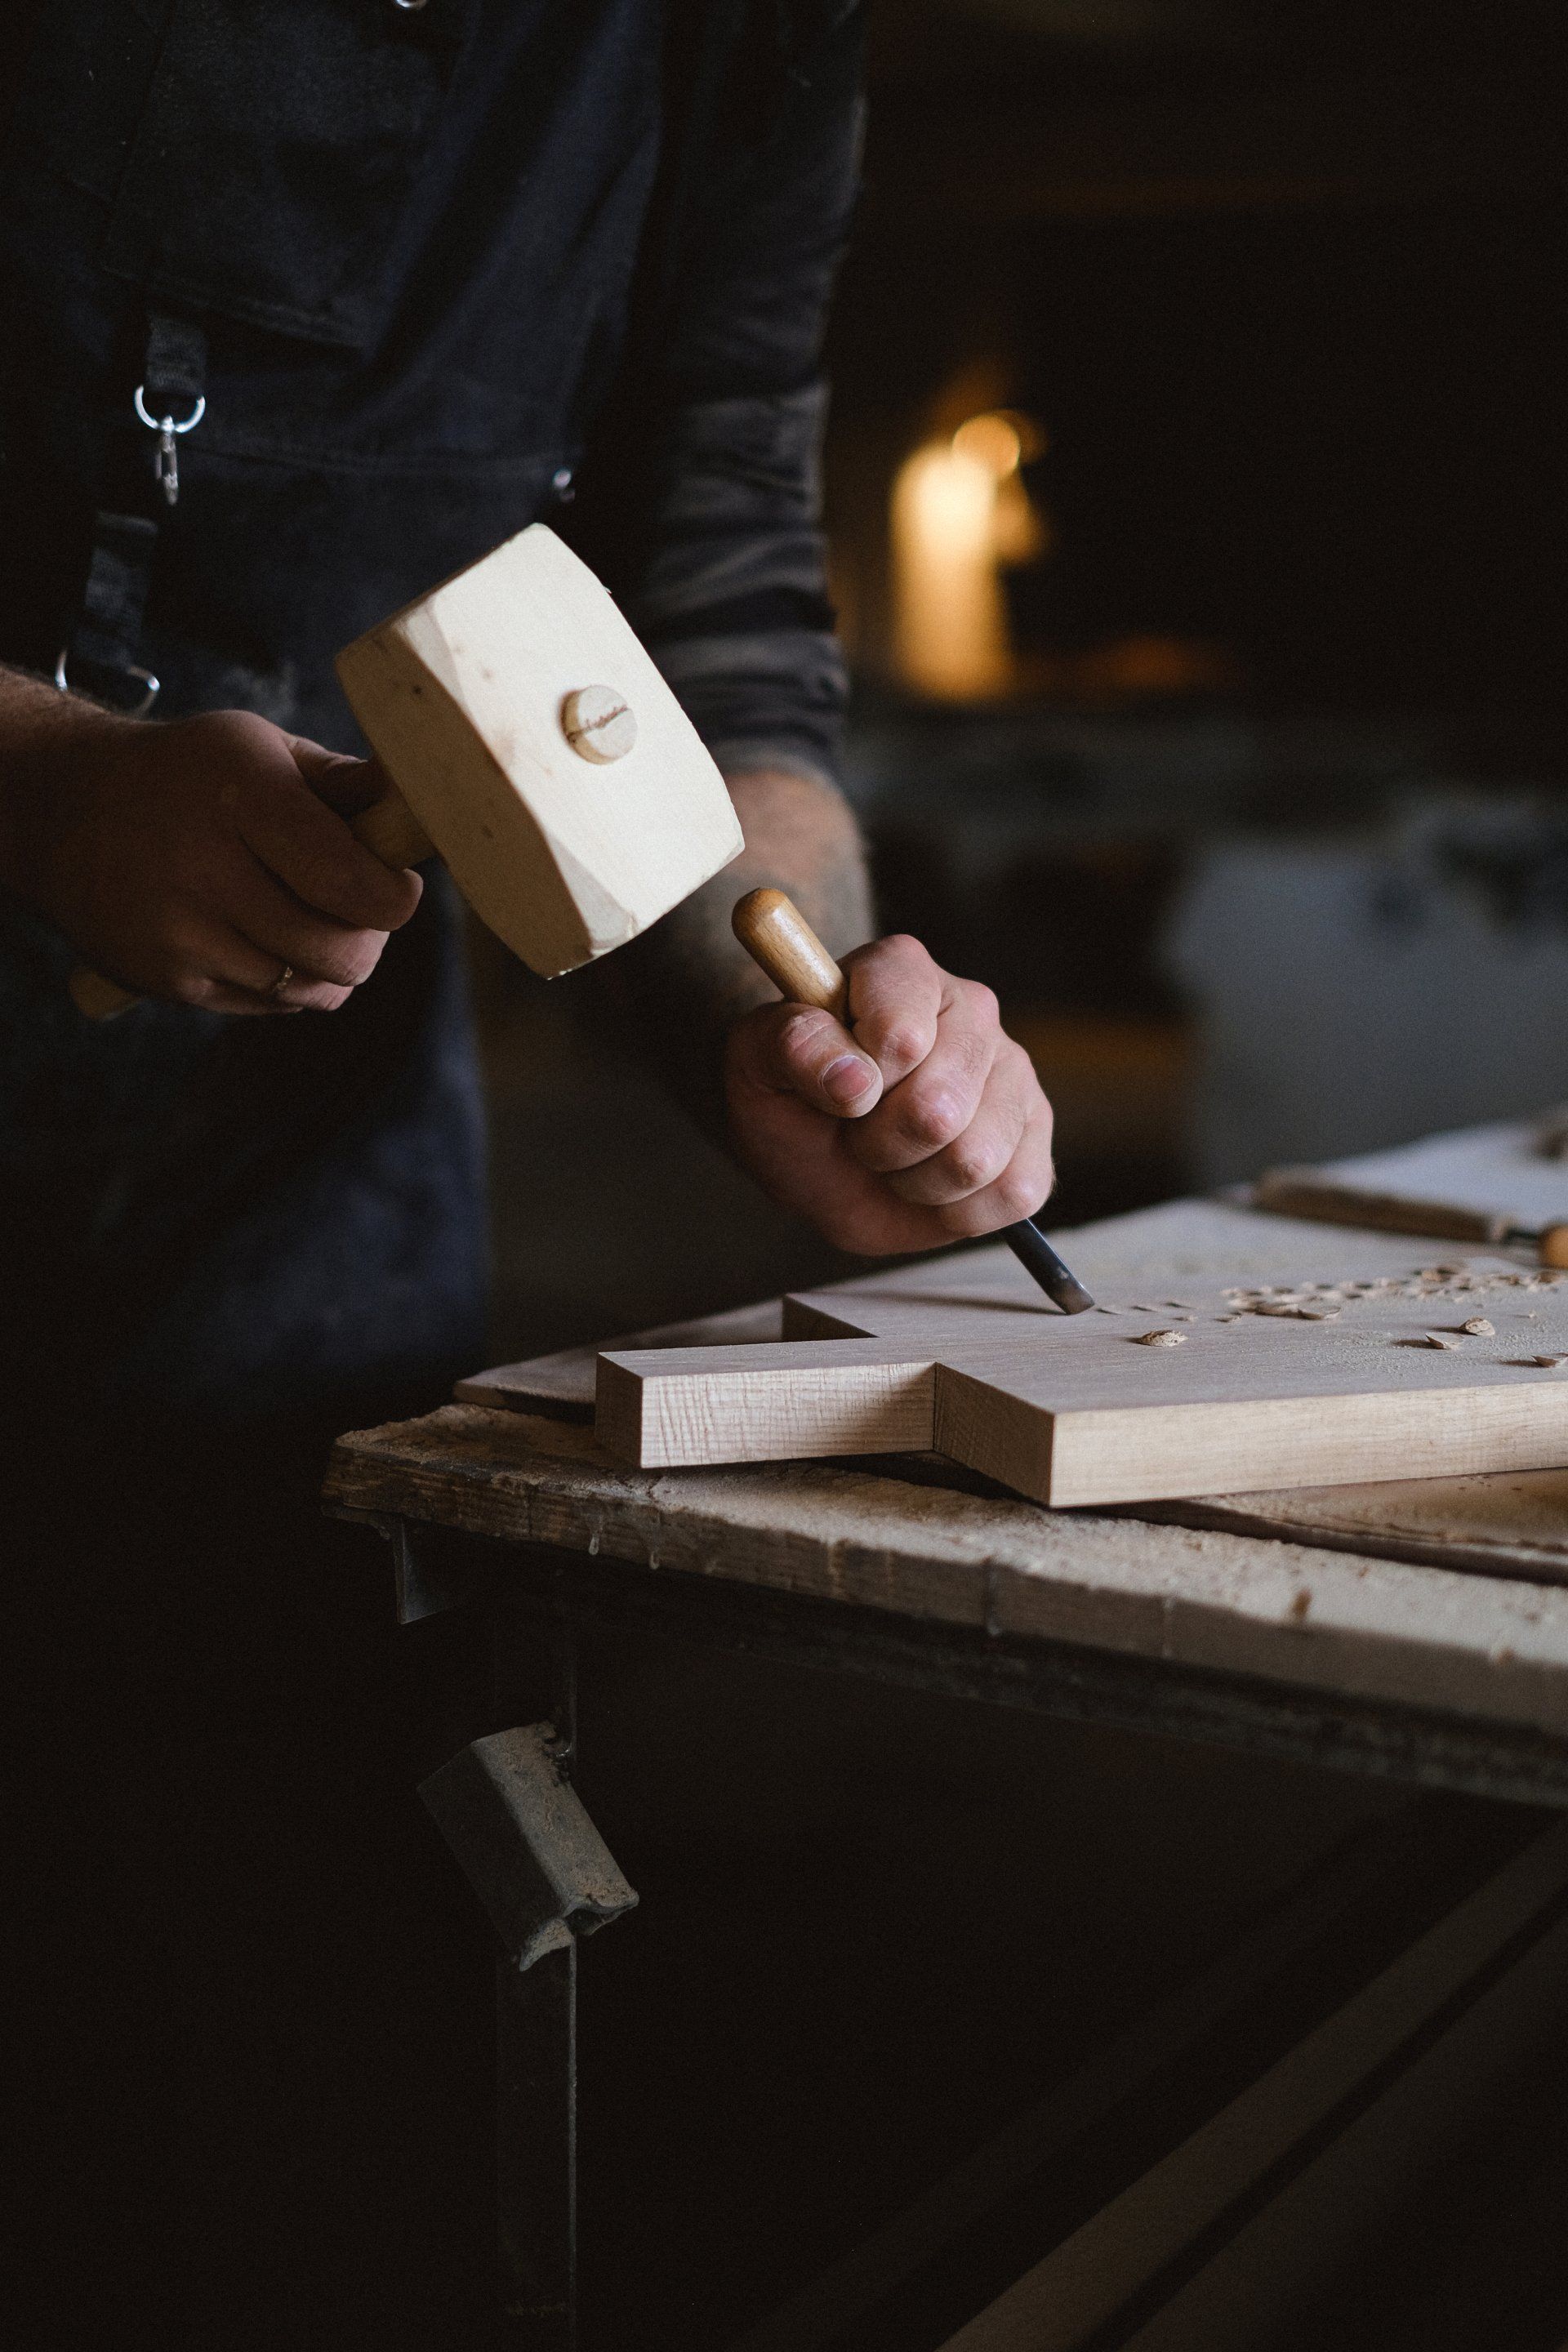
One of the most practical and visually appealing DIY projects you can undertake is building custom shelves. Whether you're aiming to declutter your living room, organize your home office, or display your favorite collectibles, custom shelves can make a significant difference. To begin, gather your materials, including a measuring tape, level, saw, drill, and screws. Take precise measurements and plan the dimensions of your shelves accordingly.
Once you have your materials ready, cut the wooden boards to the desired length and width using a saw. Sand the edges to achieve a smooth finish, and then assemble the shelves using screws and a drill. For added flair, consider staining or painting the shelves to match your existing décor. Installing these custom shelves will not only provide you with ample storage but also add a touch of elegance to your home.
2. Creating a Statement Wall with Wainscoting
If you're looking to add sophistication and charm to your space, wainscoting is an excellent choice. Wainscoting involves installing wooden paneling on the lower half of your walls, creating a beautiful contrast with the paint or wallpaper above. This timeless design element instantly elevates any room, be it your dining area, bedroom, or hallway.
To get started with wainscoting, measure the height and length of your walls. Next, choose the appropriate type of wood paneling and molding to achieve your desired look. Cut the panels to size and attach them to the wall using adhesive and finishing nails. Complete the installation by adding molding along the edges for a polished finish. Once the wainscoting is in place, you can paint it in a color that complements the upper half of the wall, creating a stunning statement piece.
3. Constructing a Stylish Outdoor Deck
Transforming your outdoor space into a relaxing oasis is made easy with a DIY deck construction project. Whether you envision a cozy spot for hosting barbeques or a tranquil retreat for unwinding after a long day, a deck can be a valuable addition to your home. Before you begin, check local building codes and obtain any necessary permits.
Start by designing your deck layout and determining the size and shape that best suits your space. Ensure you have the appropriate tools, such as a circular saw, drill, and level, along with the necessary materials like pressure-treated lumber, concrete footings, and screws. Following the design, construct the frame, secure it to the footings, and then attach the deck boards. Finish off the project by adding railings, stairs, and any desired accessories. A well-built deck will not only enhance your home's value but also provide a welcoming outdoor area for relaxation and entertainment.
4. Revitalizing Furniture with Upholstery
If you have worn-out or outdated furniture pieces that are in need of a makeover, upholstery is the perfect solution. Breathing new life into your chairs, sofas, or ottomans can instantly rejuvenate your living space. Start by selecting a durable and aesthetically pleasing fabric that complements your existing décor.
Begin the upholstery process by removing the existing fabric and padding from the furniture piece. Repair any damages to the frame and replace worn-out foam or padding. Cut the new fabric to size, ensuring you leave enough excess for a snug fit. Use a staple gun to secure the fabric to the frame, pulling it taut as you go. Finally, trim any excess fabric and reattach any necessary accessories. With your newly upholstered furniture, you'll have a refreshed and stylish addition to your home.
5. Building a Custom Headboard for Your Bed
A bedroom should be a sanctuary of comfort and personal style, and a custom headboard can contribute to that ambiance. Building a headboard allows you to create a unique focal point that reflects your taste and complements your bedroom decor. With basic carpentry skills and the right materials, you can easily construct a headboard that showcases your creativity.
To begin, measure the width of your bed and determine the desired height of the headboard. Choose a material such as plywood, reclaimed wood, or even upholstered panels, based on your preferred style. Cut the material to the appropriate dimensions and add any desired design elements, such as trim or tufting. Attach the headboard securely to the bed frame or mount it directly to the wall for a floating effect. Once complete, your custom headboard will elevate the overall look and feel of your bedroom.
Conclusion
Embarking on DIY carpentry projects not only empowers you to personalize your living space but also provides a fulfilling creative outlet. From custom shelves for organization to wainscoting for a touch of elegance, the possibilities are endless. With the right tools, materials, and a little bit of guidance, you can successfully enhance your home's aesthetics and functionality while saving on costs. So, roll up your sleeves, unleash your inner carpenter, and start transforming your space with these exciting DIY projects.
Remember, the journey of home improvement begins with taking action. Start small, gain confidence, and gradually tackle more ambitious projects. With each completed project, you'll not only acquire new skills but also create a home that reflects your unique personality and style. So, why wait? Harness the power of carpentry and unlock the full potential of your living space.